

Baklava Babka Buns
Serves 630 mins prep25 mins cook
The flavors of a baklava rolled up into a fluffy brioche dough, twisted like a babka, and drizzled with honey, these Baklava Babka Buns are the perfect mix of sweet and salty.
0 servings
What you need


Instructions
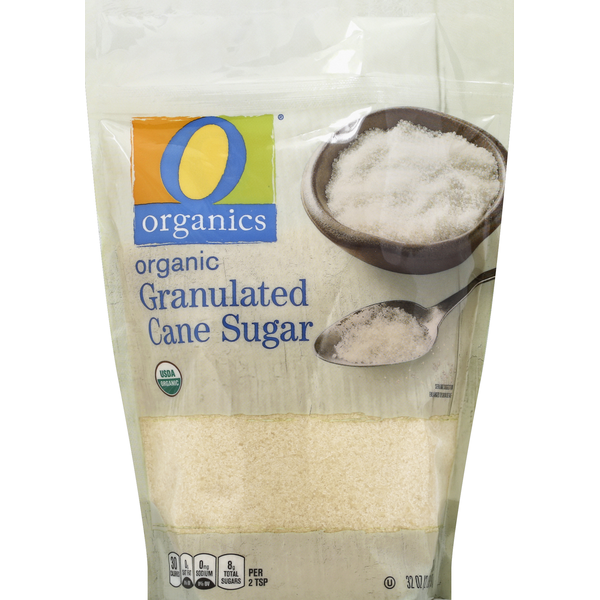
Orange Brioche
0 In the bowl of a stand mixer, add in the sugar and half of the orange zest. Rub the zest into the sugar with your fingers until combined and fragrant.
2 Add in the flour and yeast, and whisk to combine.
3 Sprinkle in the salt. Then add in the egg and warm milk.
4 Use a dough hook to knead everything together on medium low speed for 15 minutes until the dough has smooth edges and the bowl is clean.
5 Add half of the butter in and knead again until incorporated (about 5 minutes). Add in the second half of the butter and knead once more until smooth. The dough should pass the window pane test *see notes section for more info.
6 If you plan to bake them on the same day, keep the dough in the bowl and cover it. Place it somewhere warm to rise until puffy and doubled in size - about 45 minutes.
7 If you plan to split the bake into two days, line a quarter sized baking sheet with a sheet of plastic wrap. Shape the dough into a rough rectangle that is about an inch thick. Top the dough with another sheet of plastic wrap.
8 Place the dough on the sheet pan into the fridge overnight.
Fillings
10 Toast the nuts you plan to use for the filling in a large pan over medium low heat until just fragrant. Remove from the heat and chop into 1/4" chunks.
11 In one small bowl stir toss the chopped nuts and cinnamon together.
12 In a medium bowl, add in the sugar, orange zest, butter, egg, salt, vanilla, and almond flour.
13 Beat or stir together until combined.
14 Set aside until ready to assemble.
Assemble
16 Preheat the oven to 350 F and place a rack in the center of the oven.
19 Line a baking sheet with a piece of parchment paper.
17 Once the dough is puffy or has chilled overnight, remove it and split into 6 even portions.
18 Working with one portion at a time, use a rolling pin to roll it out to about 8" x 4". Try to keep the dough as rectangular as possible while rolling it out.
20 Spread about 3 tablespoons (1/6th) of the almond filling over the dough, leaving a half inch edge bare on one of the long sides. There is a lot of filling in these, don't be scared to use it up. They can get a little messy but you don't want to skimp on the filling. Just keep calm and carry on.
21 Sprinkle the almond filling with 1/6th of the nut mixture. Gently press the nuts into the almond filling.Roll the dough up, starting with the long side with no bare edge. Roll it up tightly but make sure not to squeeze out the filling.
22 Once fully rolled, seal the edge of the dough to the roll by pinching the dough to the roll. Give the roll a few squeezes while also ever so slightly stretching it out.
23 Use a long sharp knife to cut the roll in half lengthwise. Open the two halves so that the cut sides are face up. Cross the two halves over one another creating an X.
24 Then, twist the two halves together keeping the cut sides face up. Pinch the ends of each half together to keep it from untwisting. Then twist the other half together and repeat pinching the ends.
25 Starting with one end, spin the twist into a bun. Tuck the first end under the bun from the start and then tuck the second end under the bun.
26 Place the buns onto the parchment lined baking sheet and repeat with the remaining 5 portions of dough.
27 Cover the pan with plastic and set aside for at 30-45 minutes to proof until puffy.
Bake
29 Place the into the preheated oven, and bake for 15 minutes. Then rotate the pan 180 degrees and bake for another 10-15 minutes.
30 The buns should be golden brown once done baking. Take the pan out of the oven and spoon the honey on top. Be sure to really coat the buns with honey. I like to do two passes with the honey so that once the first layer has soaked in, you an add more.
31 Sprinkle the top with more chopped pistachios and flaky sea salt.Let them cool for ten minutes and then enjoy!
View original recipe